A Little Bit of Model Railroad Progress
It has been a while since I blogged on my model railroad but unfortunately real life intervened and cruelly prevented me from working on my hobby for a while. I have been making progress recently and thought I would post what I have been working on. Believe it or not, there are one or two readers who actually write me for updates.
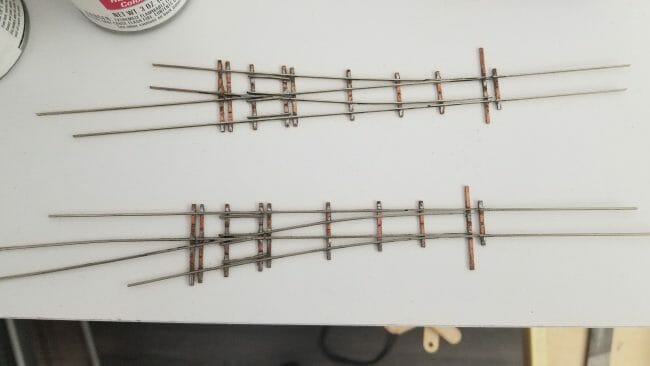
One thing I can do even when I am busy is make progress hand building turnouts. These are some small #5 turnouts built with code 40 rail (perfect for eyesight destruction). No way I could to this without the fabulous Fast Tracks construction jigs.
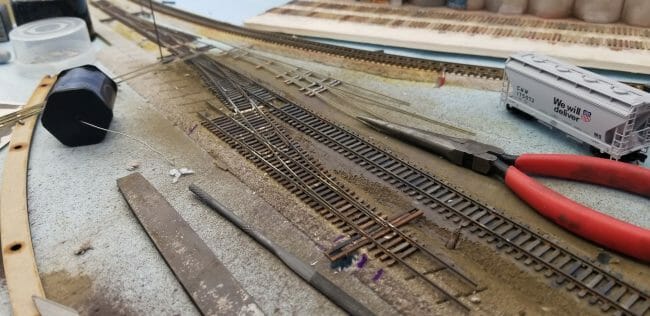
I built the main line out of code 55 flex track and am hand-building all the sidings and branch lines with code 40. This lets me get the main line up and running fast while still being able to hand build some track, often the track closest to the front of the layout. Below is the code 55 flex track main line after some test painting. The one thing I do not like about flex track is that it always looks so uniform. Even on good mainline track the rail and ties vary a lot in color, so I spray paint a base coat and use brushes to hand paint individual tiles and rail sections different colors to get some variation.
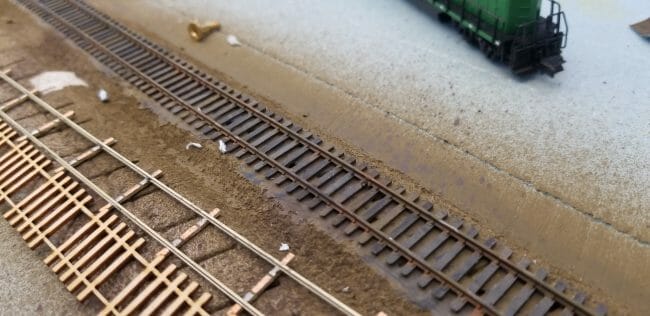
The switch in the foreground below is the first code 40 hand built track I have put on the layout. It is a bit of a pain to join code 55 to code 40, so I wanted to experiment some. Eventually I inserted a code 55 rail joiner in the mainline track, and the crushed the other end flat and soldered the code 40 rail to the top. With some trial and error, this got both the rail tops at the same height. I really love the look of real wood ties and the color variation you get naturally, which I accentuate some.
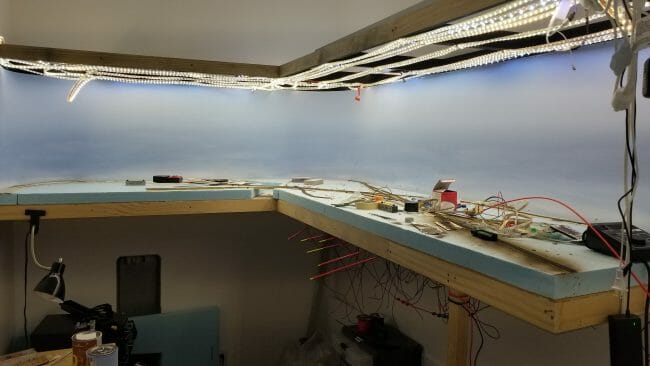
The biggest recent progress was I painted the back drop. Since this is Phoenix I wanted some low haze but no clouds, so I used the tried and true method of blue at the top of the background and white and the bottom and blending them in between. Came out pretty well, though this picture does not really do it justice because the lighting is not quite right yet. I need to try it with a better camera. The biggest problem I had was a classic Phoenix problem where the paint was drying too fast. One of the hardest problems is that the Phoenix sky on certain days is so deep, deep blue that it looks unrealistic, even in real life, so I did not use the actual color for the top of sky that I see from my front yard, I backed it down a bit.
Oh, you can also see that I have put in the lighting. As an experiment I used led light strings. This avoids the directional shadow problem but I am not totally convinced I am happy with it yet. I also have fluorescent lights installed for night effects, though I still struggle with the OBA / fluorescent paper problem here. Anyone who has a source for matte (not gloss) OBA-free photo paper that is not too think (I often have to bend and shape the paper for projects) can certainly email me. Paper models like these are more popular in the UK than in the US, but I have come to really like them in certain applications. They just don't look good in night scenes when brick walls glow under black light.
In the plan I have locations vaguely blocked out for industries but I had not yet tested the sites against actual buildings I have in inventory or would like to put in. Below I have a half-built grain elevator I was testing locations for.
That's it for now. I am starting my big building project which is a scale refinery. We actually don't have a refinery in Phoenix (closest is Yuma I think) but I worked in one years ago and love the look of them, especially lighted at night, so dammit I am going to have one.


