Layout Progress: Base & Initial Trackwork
This is part of a recurring series on the evolution of my n-scale switching layout. More after the break...
I have decided to use 1" extruded foam over 1/4" Lauan plywood. The combination is both light and tough, and the foam base allows carving of some features like drainage ditches and such that eliminate the table top look. As mentioned in my post on the track plan, I have divided the layout into two 4-5' by 18" modules that I can work on at my workbench.
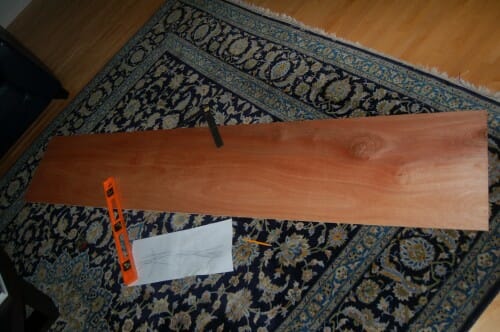
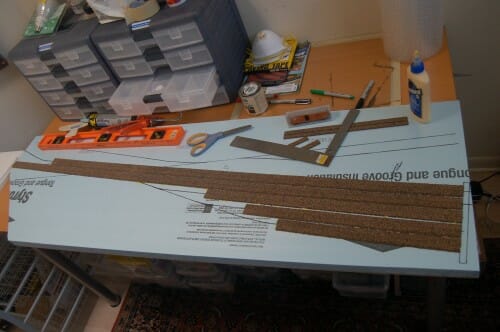
Here are the raw materials. Home depot had the blue Dow sheet -- I worked with the pink Owens Corning in the past, and would have preferred the square edge Dow products without the tongue and groove, but since we will be trimming the 24" wide foam to 18" this should not make a big difference. I got Home Depot to rip the 4x8 sheets into 18" wide strips. It is hard to rip plywood the long way even on a table saw, and home depot has a saw in most of their stores that makes short work of this task. As usual, click on the pictures for larger versions.
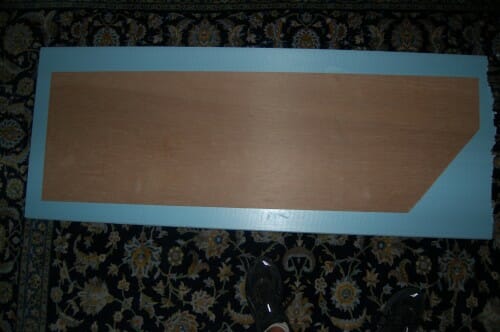
Once cut to size, the plywood is glued to the foam with liquid nails "project" version (any other version will dissolve the foam). I weighted it and left it to dry for a day. Since the foam does not breath, it can take a while for the adhesive on the inside to dry.
The foam was then cut to match the contour of the plywood. This is simple with a handheld circular saw, though I had to clean it up a bit using a hacksaw blade to even out a few rough edges.
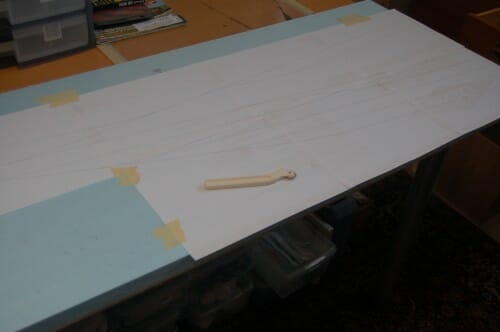
I then took it to my workbench and started laying out the track. 3rd Planit CAD software will print the plan out 1:1 scale, though you have to be careful taping the sheets together (others have taken the file to a copier shop with a plotter, but I did not bother.)
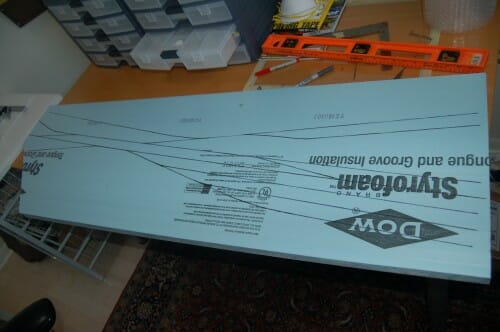
For those who do not have a mom who sewed, that funny spur looking thing is a ponce wheel, and by rolling it over the track plan, it can transfer the plan to the foam as lines of little indentations which are easy to see. I then traced over the line with a Sharpy.
I then started laying cork roadbed. I did not lay it all, as small errors in tracklaying can propagate, so I won't lay the rest of the roadbed until I see how the first stage of track laying goes. The roadbed in the yard does not look even, but that's a function of variable cork widths - I carefully measured to make sure the centerline spacings were exactly right.
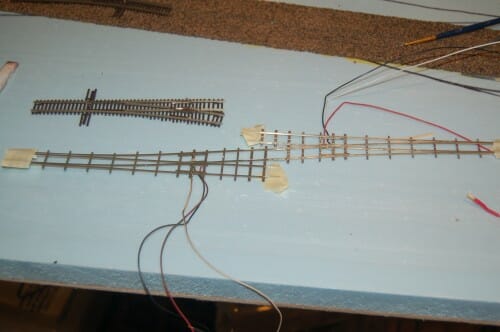
That is about it for this weekend. I took out some turnouts to start checking alignments. I have a lot of turnouts to build, so that will be the next step. I had a pair of #8's already built, and while most of the turnouts are smaller on this switching layout (#5 and #6), the larger turnouts are appropriate for the crosser at the left side of this model at the entrance to the arrival track of the yard. So I took the two turnouts I had and worked on their alignment until I could solder them together. I am playing with the paint on the turnouts - I struggle to get the PC board ties that form the skeleton of the turnout to match to wooden ties.
For this photo, I included an Atlas code 55 turnout next to the hand-built code 40's. I hope you can see how great the smaller, scale-size rail looks in comparison.
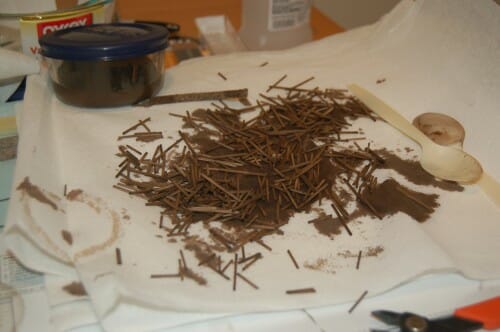
This week I will be working with tie stains. This is my first experiment, with Minwax American Walnut stain diluted with alcohol.
The are a little too brown, but the next step will be a second dunk in diluted india ink. Very weathered, and therefore fairly light stain would be appropriate for this prototype, but unfortunately I have a hard time matching PC board ties to sun-bleached ties.
Pretty cool. That track layout is definitely a little more precise than things I like to work on model wise. Nothing I put together has to work, only sort of look like it does. (Or look sufficiently cool that it doesn't matter.)
How are you doing the ties? Are those just wooden dowel bits cut to size? Are you painting them before you stain at all? My approach would have been to lay down a base mid range color, dry brush on a very light highlight for the weathering and then wash with the stains like you are so they bring the colors together, but then I work mainly in plastic and metal, and wouldn't be doing 10^24 of them like you seem to be :)
OK, I give up, how the hell can you hand lay track that small? The spikes must be microscopic!
I used to stain ties with actual creosote. Gave the room a nice authentic smell, and the color was right. Of course, the fumes could explain some of my strange quirks that persist to this day :-).
@Hunt, needle-nose jeweler's pliers, you get the hang of it after a few hundred. The real fun was installing the more realistic Kadee couplers. I'm probably old enough to make doing that literally impossible now, in N-scale at least.